Your cart is empty.
shop now
Your cart is empty.
shop now
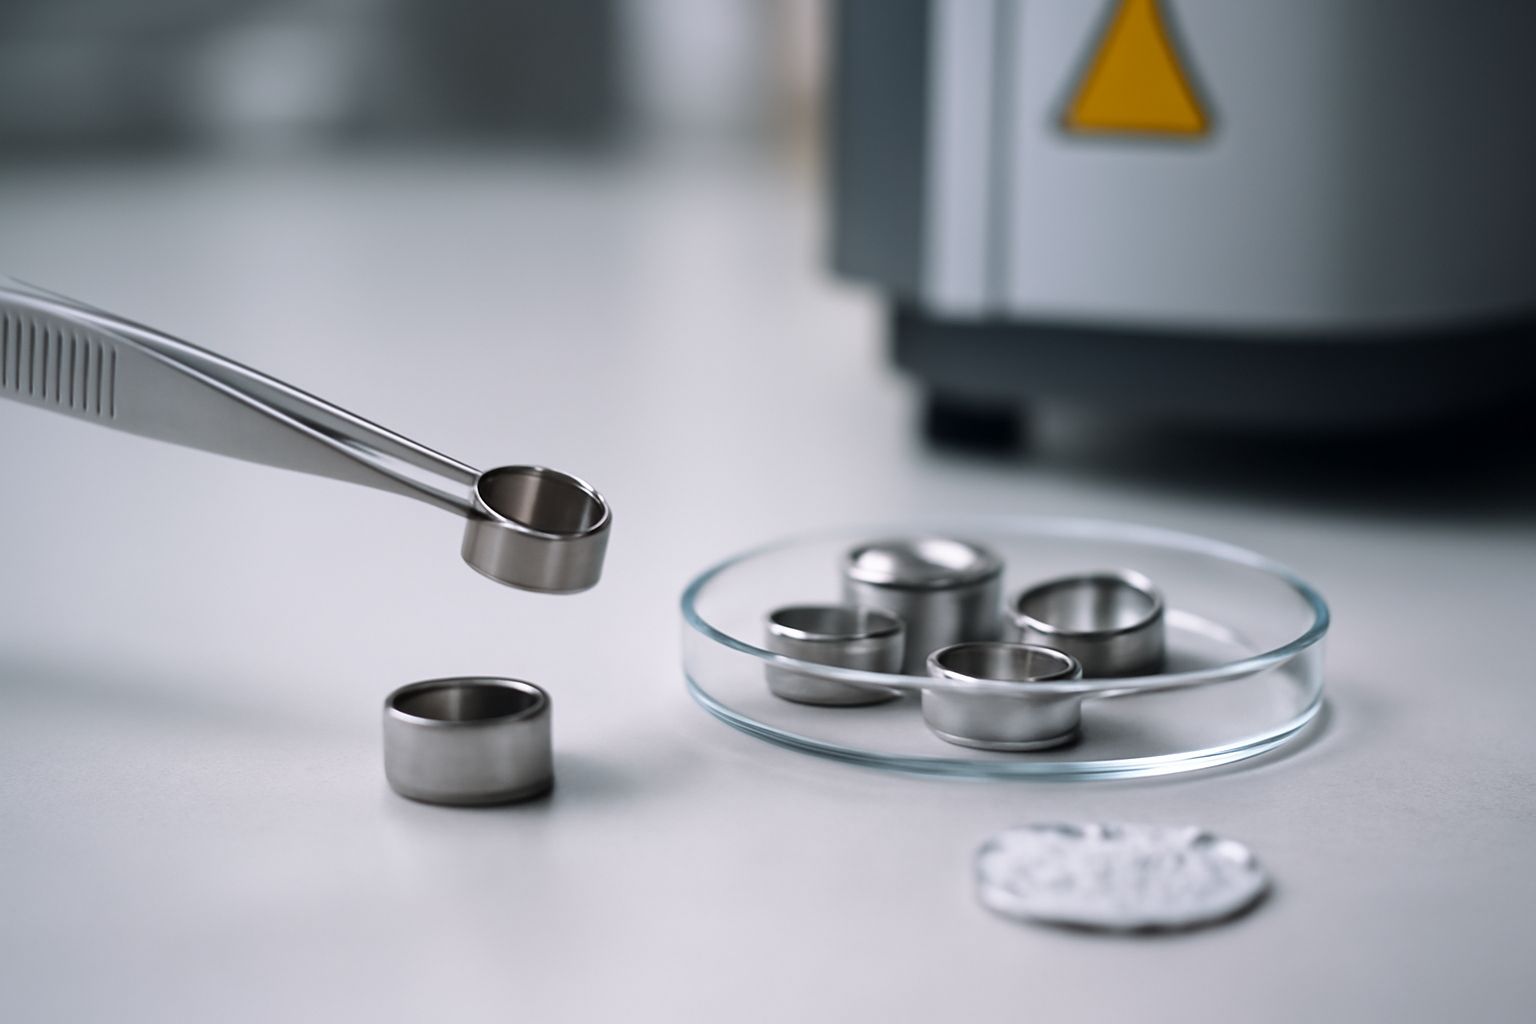
Frequent lab errors can ruin an entire experiment. Solving common issues with thermal analysis sample containers saves time and produces more trustworthy material data.
The main challenges with thermal analysis sample containers are contamination, inconsistent results, container deformation, and sealing troubles. Choosing the right material and following best practices nearly always improves test accuracy and reliability in thermal analysis.

I often hear from colleagues about errors in sample preparation and data collection. When I pay special attention to cleaning, fit, and container selection, my results stay consistent from one batch to the next. These steps build confidence for every analysis in the lab.
Sample contamination quickly leads to unreliable measurements. Even tiny residues left in a pan may distort your thermal analysis results and waste valuable sample material.
I avoid contamination by using new or carefully cleaned sample containers, selecting inert materials, and storing pans in a clean, dry environment. Proper cleaning and handling reduce the risk of errors during DSC or TGA experiments.
| Source of Contamination | Impact on Results | Prevention/Resource |
|---|---|---|
| Residues from Previous Runs | Creates false signals, affects weight measurement | Use dedicated cleaning method Cleaning Agent |
| Dust or Airborne Particles | Adds foreign mass, results in background noise | Store containers in protected space |
| Improper Handling | Fingerprints, oils, salts transfer to sample and pan | Use gloves and tweezers at all times |
| Reactions with Container | Alters chemistry or heat flow, can destroy sample | Match chemical compatibility |
Inconsistent results frustrate any lab project. These issues signal problems with the sample pan, preparation steps, or the instrument itself.
When I see variations in test outcomes, I check for even sample loading, correct pan placement, and compliance with the analyzer’s instructions. Consistency improves when I standardize every step, especially loading and closing the sample container.
| Root Cause | Resulting Problem | Corrective Action |
|---|---|---|
| Uneven Sample Loading | Causes irregular heat transfer, erratic readings | Weigh carefully, use micro spatula |
| Incorrect Pan Placement | Poor contact, leads to noisy baseline | Re-seat pans, follow user guide Calorimeter |
| Non-standard Pans Used | Mismatch in heat flow and temperature profile | Match to instrument specs Compatibility |
| Instrument Drift | Erratic values, poor repeatability | Regular calibration and maintenance |
Deformation of containers during tests ruins both data and hardware. This often results from the pan not matching the sample type, volume, or temperature setting.
I always verify material specifications and test temperature limits. Choosing pans designed for high-temperature or corrosive samples, such as alumina or platinum, prevents bending and leaks in severe test cycles.
| Deformation Cause | Typical Outcome | Mitigation Resource |
|---|---|---|
| Temperature Overload | Pans melt or warp, causing leaks | Use reference temp data Sample Holder Types |
| Wrong Material Selection | Reacts with sample, weakens container | Check Material Selection |
| Overfilling Pan | Mechanical buckling, test interruption | Fill under maximum load |
| Repeat Reuse | Work hardening, cracks form over time | Inspect and rotate inventory |
Leaks or vapor loss make test results useless. A properly sealed sample container stops contamination and sample loss, especially for volatile or sensitive analyses.
To keep samples secure, I use new seals or lids from the same batch, and check for damage or gaps before every run. Matching the seal design to the test method helps limit gas exchange and errors.
| Problem | Trouble Caused | How to Fix/Resource |
|---|---|---|
| Poor Lid Attachment | Sample leaks, baseline drift | Follow device sealing steps Sealing |
| Worn Out O-Ring/Vent | Unintended venting, loses vapor | Replace every test, keep spares ready |
| Seal Material Incompatible | Breakdown with heat, sample contamination | Use approved material from trusted suppliers |
| Improper Crimping | Loose fit, air entry | Train on proper crimp technique |
Following best practices for container cleaning, correct use, and sealing avoids most problems in thermal analysis. Small improvements in preparation lead to confident, successful results in every lab test.
Contact Technical Support >