



SHOPPING CART
Your cart is empty.
shop now
Your cart is empty.
shop now
Testing at home with a DSC can be frustrating when sample pan errors appear. Many users face deformation, leaks, or baseline noise, making measurements unreliable.
Most common DSC pan problems in home labs can be solved by careful handling, appropriate sealing, proper cleaning, and inspecting for pan defects before each run.
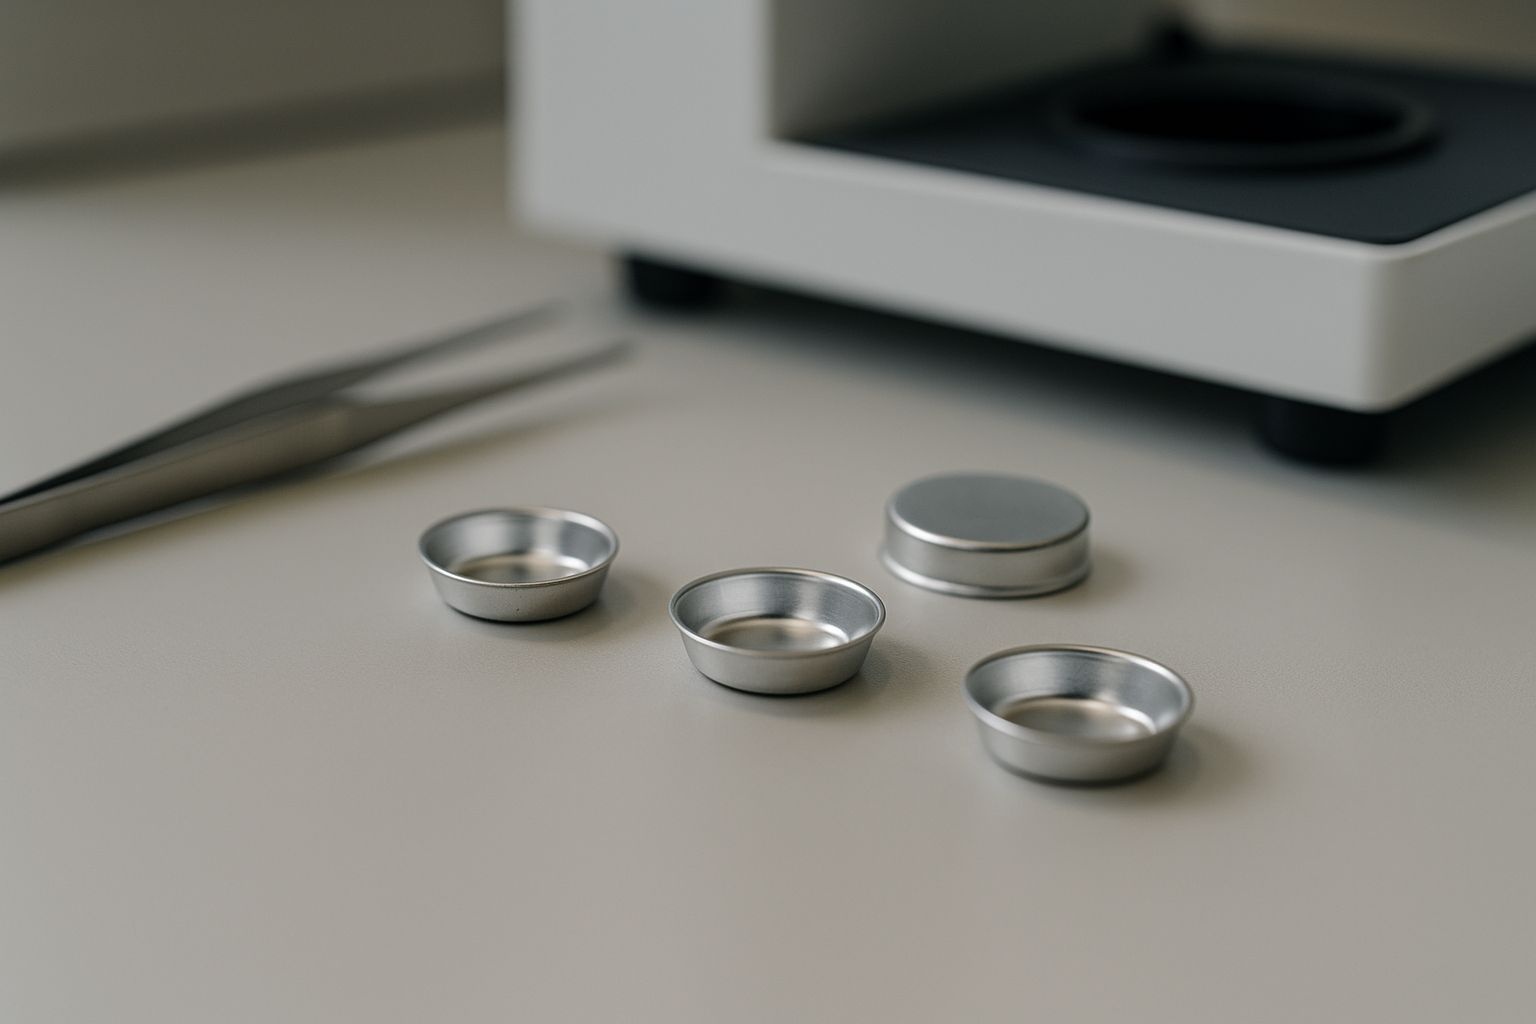
There is a simple fix for many home DSC pan frustrations. By understanding what leads to deformation, bad sealing, or noise, I have learned to avoid wasted samples and unreliable results. Let me break down the solutions that work best for home users.
Deformation makes DSC data useless. I know how annoying it is when a pan warps during heating, distorting your results and wasting time.
Sample pan deformation is usually caused by overheating, mechanical stress during sealing, or using low-quality pans—for accurate data, choose high-purity pans and follow gentle handling during crimping.
| Cause | Solution | Notes |
|---|---|---|
| Overheating sample pan (TGA/DSC run temperature above rating) | Check maximum use temperature on packaging; limit test temperature to below rated value | Typical aluminum pans: 600°C max; see product specs |
| Excessive force during mechanical sealing (manual crimping) | Use consistent, gentle pressure with a proper crimper | Practice on extra pans to get the correct feel |
| Poor pan quality/material purity too low | Choose pans made of 99.99% aluminum or other recommended metals | Low-purity pans deform at lower temperatures |
| Old or previously used pans (microcracks, wear) | Always inspect pans for prior damage; use new pans for precision DSC work | Look for visible dents and cracks under good lighting |
By treating pans gently and respecting their physical ratings, I reduce warping and get more repeatable curves in analysis. For more about DSC applications, plenty of additional advice can be found online.
Leaks ruin volatile sample analysis. Even minor air entry can escape critical data, leading to poor reproducibility and safety risks.
Properly sealing a DSC pan means using an approved press or crimper, choosing the right cap (flat or O-ring), and never overfilling—always use gloves or tweezers to stay oil-free.
| Airtight Pan Design | Proper Procedure | Common Issues | When to Use |
|---|---|---|---|
| Crimped lid (standard aluminum) | Use calibrated crimper, align lid with minimal pressure | Poor alignment, lid cut, over-crimping | General organics, non-volatile samples |
| O-ring seal (for high-volatility) | Clean pan and O-ring first, press evenly with press tool | O-ring worn or not seated, sample contaminates seal | Solvents, water-sensitive samples |
| Hermetically sealed pans | Use manufacturer’s press adapter, check for leaks before test | Equipment mismatch, force applied unevenly | Explosive or hazardous materials, regulatory compliance |
| Vented (pierced) pans | Pierce hole with supplied tool after sealing | Mix-up with regular pan, vent hole too large | Gas evolution or controlled pressure studies |
I keep my workspace free of oil and dust. That prevents leaks in sensitive tests. I learned this the hard way from my first failed attempts. For those curious, the role of O-rings in creating a seal is well covered in user guides from top DSC equipment brands.
Poor pan cleaning leaves residues that spoil future measurements. Skipping this process causes cross-contamination and baseline shifts.
At home, soak pans in acetone or isopropanol, rinse with pure water, dry with filtered air, and handle pans with tweezers—never touch the inside with your fingers.
| Cleaning Step | Purpose | Cautions |
|---|---|---|
| Soak in acetone or isopropanol | Removes organic residues or polymer films | Use glassware; do not use plastics with acetone |
| Rinse with deionized water | Flushes away solvent and any fine debris | Use only clean, fresh water |
| Dry with filtered compressed air | Ensures no water spots or dust remains | Do not use towels; avoid airborne dust |
| Handle with steel tweezers | Prevents skin oils and fingerprints | Dedicate clean tweezers just for this task |
| Optional: Ultrasonic cleaning | Deep removal of micro-contaminants | Confirm pan structure suitable; never run pans together or touching |
In my home setup, rinsing and air drying gets most pans ready. For advanced cleaning, I sometimes use an ultrasonic cleaner. Reliable methods matter more than fancy equipment for regular testing.
Baseline noise from defective pans can mask subtle transitions in DSC analysis, making your results hard to interpret.
Minimize baseline noise by using defect-free pans, handling them with care, aligning them in the DSC tray, and running a blank reference scan before each batch.
| Action | Why It Matters | How to Verify |
|---|---|---|
| Inspect each pan for scratches or dents | Physical flaws disturb heat transfer and introduce noise | Use a magnifier, good light source |
| Weigh batches to confirm no pan-to-pan variation | Uneven pan mass skews DSC baseline | Record weight on an analytical balance |
| Run a blank scan before sample analysis | Detects system noise, identifies pan defects early | Compare blank and sample curves |
| Ensure correct pan position inside the cell | Misalignment leads to heat flow artifacts | Follow manufacturer alignment guides |
| Replace pans after visible wear or any abnormal signal | Old pans accumulate invisible damage | Track usage cycles, maintain a log |
By treating the pan as a core part of the measurement chain, I keep my DSC curves flat and reliable. Reference materials on instrument noise show how much weak pans hurt results even in home setups.
Solving common DSC pan issues at home comes down to careful handling, good sealing practices, methodical cleaning, and watching for defects—I always check these steps for reliable results.


C082.Wangdefu International Building, Furong, Changsha, Hunan, China


+86-19907415020